Best Way to Dry Dog After Bath: A Step-by-Step Guide
As an Amazon Associate we earn from qualifying purchases. Details
Here is the best way to dry dog after bath time: remove as much water as you can with a towel first, then finish with a dog-specific dryer on a gentle setting, held at a distance from the skin. The American Kennel Club says drying helps keep a dog warm, prevents mats and tangles, and reduces bacteria growth. This guide walks through the steps in order, explains the mistakes that the sources warn about, and lists what the sources we opened do not cover.
Quick answer
- Towel off first. Press the towel into the coat instead of rubbing, so the fur soaks up water without tangling.
- Finish with a dog-specific dryer. The airflow does most of the drying, so use a low heat setting and keep the nozzle moving at a distance.
- Check the skin while you dry. Look for lumps, bumps, scrapes, scabs, or irritation that may need a veterinarian’s attention.
- Do not walk a wet or damp dog into cold weather. Dry the coat first.
Why drying matters after a bath
Drying is more than a finishing touch. The AKC’s dog drying guide says drying your dog “helps keep them warm, prevents mats, tangles, and bacteria growth (which may lead to skin infections), and helps eliminate the ‘wet dog’ smell.” Those four benefits explain why the job should not be skipped or rushed.
Warmth is the benefit that matters most in cool rooms and cold seasons. The AKC’s hypothermia article says that “shivering and curling up for warmth are some of the first signs of mild hypothermia in dogs.” A bathed dog that stays damp can lose body heat, so the drying step is part of keeping the dog comfortable, not just tidy.
Mats and tangles form when a wet coat is left to dry on its own. The more hair a dog has, the more important it is to dry the coat thoroughly, because the water sits deeper in the fur and the coat can knot as it dries. Short-coated dogs usually dry faster than dogs with long or double coats, and the AKC notes that the length and type of coat change how long the job takes.
Before you start: check the coat and the room
Before the first towel comes out, look at the coat type. The AKC says that “if you have a short-coated dog, you can dry them off with a dog towel.” A dog with a longer, thicker coat usually needs two steps: towel first, then a dryer to finish the job.
Pick a room that is warm and free of drafts, and have all of your tools within reach before you start. A closed room makes the process easier to manage, since a wet dog that runs off mid-drying can spread water across the house.
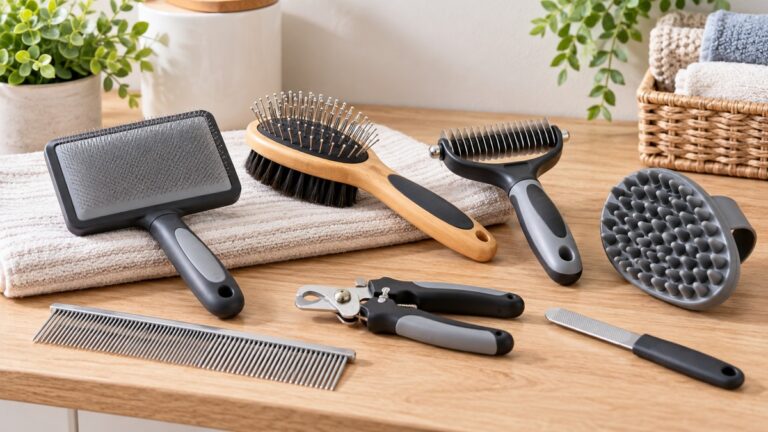
Gather three items: two or three absorbent towels, a brush suited to the coat, and a dog dryer if the coat is medium or long. The AKC notes that a human hair dryer is not the right tool for a dog, so choose a dryer that is made for a dog’s coat.
Step 1: Shake, then squeeze out the first layer of water
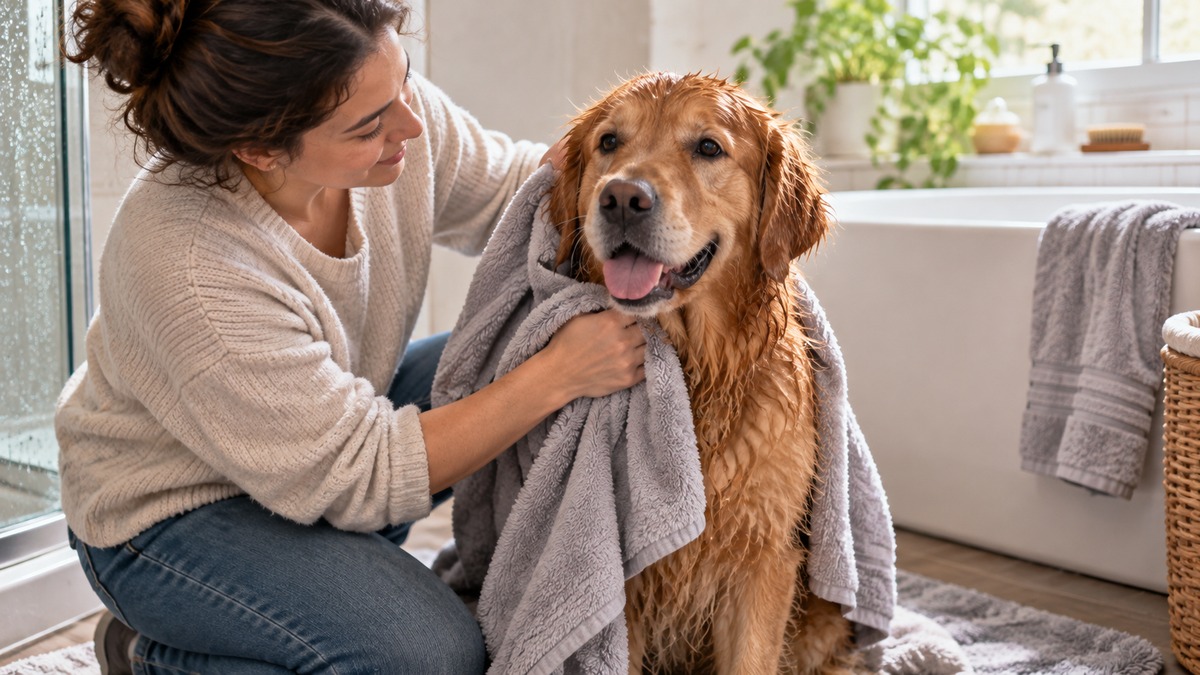
Let the dog shake first. This removes a surprising amount of water before you touch the coat. Then use a towel to squeeze the water out of the fur in small sections, starting near the head and working toward the tail. Lift the coat as you go so the water drains from the fur rather than soaking the skin.
Squeezing works better than rubbing. The AKC’s towel instruction is to press the towel gently into the fur, because “instead of rubbing,” this “allows the towel to soak up water without creating tangles.” Use a fresh, dry section of towel as the first one becomes wet. For a large dog, expect to use more than one towel.
Step 2: Towel the paws, belly, and legs
Paws, the belly, and the inside of the legs hold water and are often missed. Dry each paw between the toes and pads, then the legs and belly. Paws are also the place where a dog may start to resist, so keep the pace comfortable and give praise for each calm moment.
Step 3: Brush the damp coat before the dryer
Brushing while the coat is still slightly damp helps lift the fur and prevents knots from setting. Work through the coat in layers, starting at the back and moving down the sides. Use slow strokes and stop if the dog shows discomfort. For dogs with thick undercoats, a brush that reaches the base of the hair works better than a short, stiff brush.
Brushing also gives you a chance to see the skin. Part the fur in several places and look at the skin itself, not just the surface of the coat.
Step 4: Finish with a dog dryer on low airflow
The dryer does the last stage of the job, and the key idea is that airflow matters more than heat. The AKC’s drying guide puts it simply: “when you use a dog dryer, the airflow, not heat, is drying their fur.” Choose a model made for dogs, which the AKC describes as a dryer “specifically designed for a dog’s sensitive skin and coat.” Forced-air dryers, which look like small canister vacuums with a nozzle, move water out of the coat with air alone.
Set the dryer to its lowest heat setting and keep the nozzle moving. Do not hold it still on one spot. The AKC advises that you “try to avoid using heat on your dog’s fur, since it might burn their skin.” Keep the nozzle at a distance from the skin, and watch the dog’s reaction as you go. If the coat feels hot to the back of your hand, move the dryer farther away and let the coat cool before you continue.
Work in the same order as the brush: back first, then sides, then legs and belly. Lift the fur with your free hand so the airflow reaches the undercoat. A thick coat can take a long time to dry, and it is normal to stop for a short break partway through.
Step 5: Introduce the dryer slowly if the dog is nervous
Many dogs find the noise and airflow of a dryer surprising. The AKC recommends starting “by keeping the dryer on a low setting and pointing the dog dryer nozzle towards your dog from a distance.” Let the dog approach the dryer on its own time before turning it on, and reward calm behavior with praise and treats.
The AKC describes a similar approach for dogs that are new to drying: “pairing exposure to the dryer with rewards like treats” helps the dog build positive feelings about the tool. Short sessions over several days work better than one long session for a dog that is frightened. Stop if the dog panics, and try again later with the dryer farther away.
Common mistakes to avoid
Rubbing the coat with a towel. Rubbing can tangle the fur and make it harder to brush out. Press and squeeze instead.
Using high heat. The AKC warns that heat may burn the skin. A low setting with steady airflow is the safer approach described in the source.
Ignoring the skin. The AKC advises that drying gives you a chance to “closely check your dog’s skin for any lumps, bumps, scrapes, scabs, or skin irritations that might need veterinary attention.” Skipping that check means missing early signs.
Letting the dog go outside while still damp. In cold weather, a wet coat leaves the dog more exposed. The AKC says “make sure your dog is dry before taking them out for a walk,” because “if a dog is wet or damp, these areas are more vulnerable to frostbite.”
Leaving the dog to dry on its own in a cold room. Shivering, lethargy, weakness, and shallow breathing are signs of hypothermia listed by the Texas A&M School of Veterinary Medicine. A dog that shows any of these signs needs veterinary advice, not more time in a damp coat.
Using a human hair dryer. The AKC says it is important not to use a human dryer on a dog. Use a dryer designed for dogs instead.
A quick comparison of drying steps by coat type
The table below uses only the points the sources state. Where a source is silent, the cell says so.
| Coat type | Start with | Finish with | What the sources say |
|---|---|---|---|
| Short coat | Towel | Towel, or a dog dryer if the coat stays damp | AKC: a short-coated dog can be dried with a dog towel |
| Long or thick coat | Towel, then brush while damp | Dog dryer on low airflow | AKC: longer, thicker coats usually need a dryer to finish |
| Double or corded coat | Towel, then brush | Dog dryer on low airflow | AKC: these coats can take more time to dry |
| Nervous dog | Towel and short dryer sessions | Dryer introduced at a distance | AKC: introduce the dryer slowly and reward calm behavior |
How we chose
This guide is built around one question: what is the best way to dry dog after bath time, using steps that independent sources support. We chose the steps that appear in the sources we opened on 2026-10-23: the AKC’s dog drying guide, the AKC’s hypothermia article, and the Texas A&M School of Veterinary Medicine article on hypothermia signs. We left out advice that appeared only in search summaries or on retail and brand pages, because those were not pages we opened and quoted from. The guide does not rank or recommend any product, and it does not list prices or ratings.
What we could not verify
The sources we opened do not give a set drying time for any coat type or breed. They do not say how long a dryer should run on a dog of a given size, and they do not give a dryer temperature in degrees.
The sources we opened do not compare dryer models, noise levels, or airflow strength, so this guide makes no claim about any specific machine.
The sources do not say how to dry a dog that has a skin condition, a wound, or a recent surgical site. In those cases, ask a veterinarian before using a dryer near the affected area.
The sources do not address small dogs as a separate group. The steps above apply to dogs of all sizes, but the time each step takes will vary.
FAQ
Can I just let my dog air dry after a bath?
The sources we opened do not recommend air drying as a complete method. The AKC says drying helps keep a dog warm and prevents mats and tangles, which a damp coat left to air dry may not do. For a dog with a short coat, a towel may be enough. For a longer coat, use a dryer to finish.
Is a human hair dryer safe to use on a dog?
The AKC says it is important not to use a human hair dryer on a dog. The source recommends a dryer designed for a dog’s sensitive skin and coat.
How far should the dryer be from my dog’s skin?
The sources we opened do not give an exact distance in inches or feet. The AKC advises keeping the nozzle at a distance and moving it, so the airflow does not stay in one spot on the skin.
What if my dog is scared of the dryer?
Introduce it slowly. The AKC suggests letting the dog explore the dryer before turning it on, pairing exposure with treats, and starting on a low setting from a distance. Stop if the dog panics, and try again later.
When should I call a veterinarian after drying my dog?
Call a veterinarian if the skin shows lumps, bumps, scrapes, scabs, or irritation, or if the dog shows shivering, lethargy, weakness, or shallow breathing. The AKC says that when in doubt, a veterinarian should be consulted.
Does drying help with the wet dog smell?
The AKC says drying helps eliminate the “wet dog” smell, along with mats and bacteria growth. The sources we opened do not say how much a drying routine reduces odor on its own.
Bottom line
Towel the coat first by pressing, not rubbing, then finish with a dog dryer on low airflow and keep the nozzle moving at a distance. Check the skin while you work, and keep the dog dry before any walk in cold weather. For the parts the sources do not cover, such as drying times and dryer models, the sources do not say, so do not assume a number they never gave.
For grooming tools that pair with drying, see our nail grinder roundup. If you walk your dog in damp weather, our step-in harness guide covers another part of the daily routine.
Sources
- https://www.akc.org/expert-advice/health/dry-your-dog/
- https://www.akc.org/expert-advice/health/hypothermia-in-dogs-how-cold-is-too-cold/
- https://vetmed.tamu.edu/news/pet-talk/dashing-through-the-snow-signs-of-hypothermia/